
下面介绍如何通过 Eclipse IDE 和命令行界面来快速创建工程。
Eclipse IDE
为了更易于编写代码,我们使用 Eclipse IDE 创建一个名为 "test" 的 Java 工程。然后按照如下的步骤操作:
将 SDK 包中的
lib文件夹拷贝到工程文件夹下,刷新工程。test 工程的结构将如 "Figure 2-2" 所示。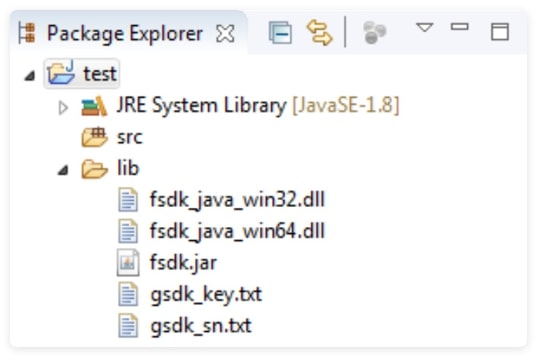
Figure 2-2
添加
fsdk.jar。右击 test 工程,选择Build Path > Configure Build Path > Libraries > Add JARs,选择 "test/lib" 下的fsdk.jar,如 "Figure 2-3" 所示。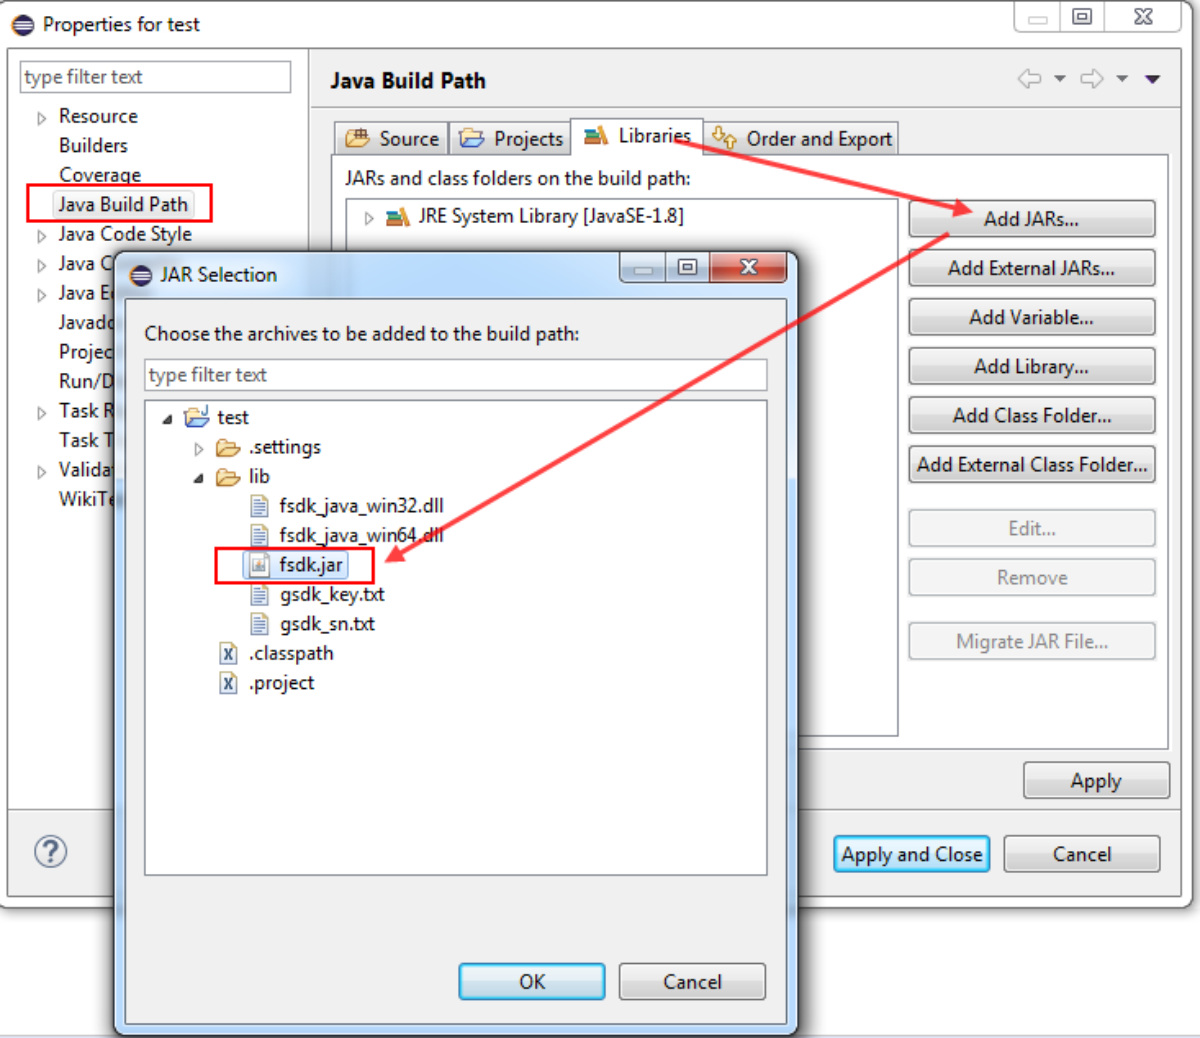
Figure 2-3
配置库的编译路径。选择
Build Path > Configure>Build Path > Source > Native library location: (None) > Edit,定位到test/lib文件夹,如 "Figure 2-4" 所示。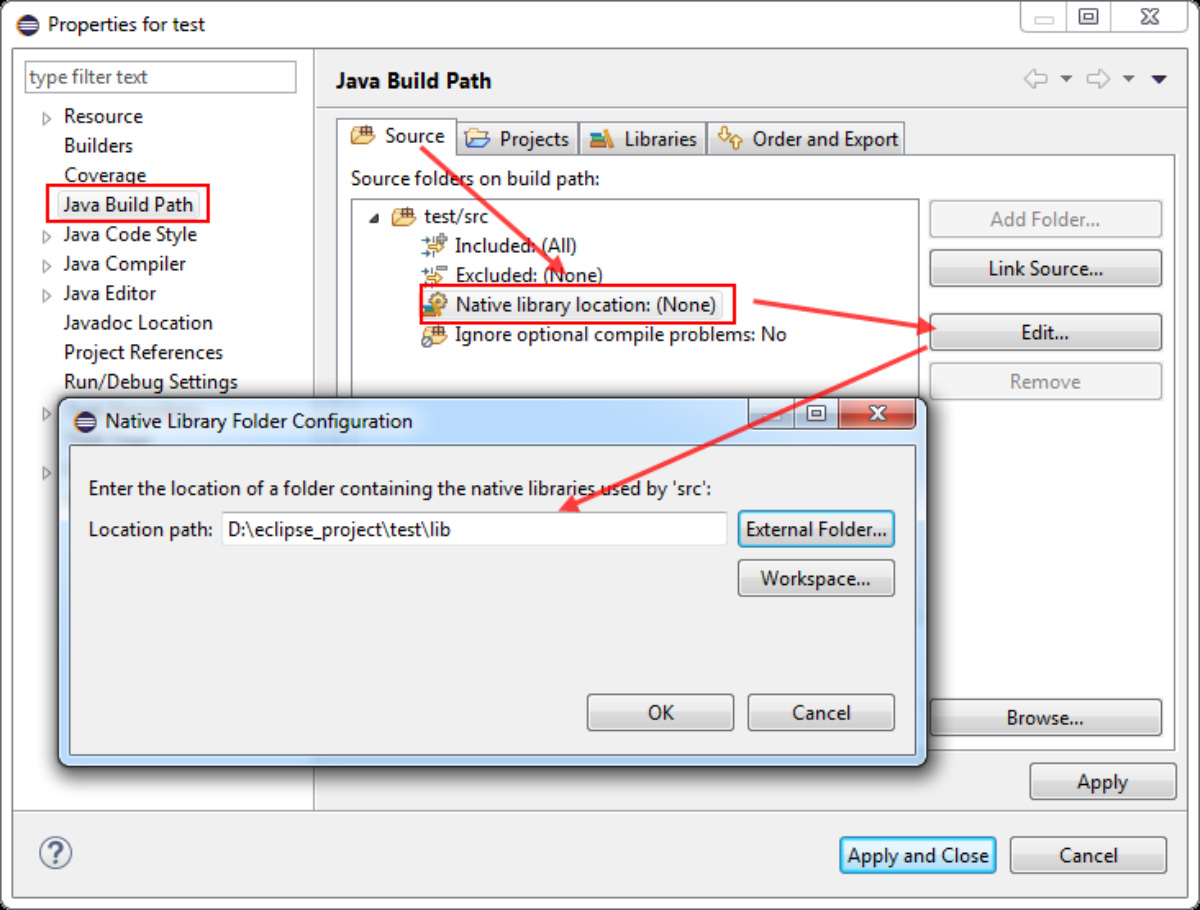
Figure 2-4
导入
fsdk.jar类。在test/src/test目录下新建一个名为 "test.java" 的类, 打开 "test.java", 导入sdk.jar中您需要使用的类。在这里,我们只导入以下的类:javaimport com.foxit.sdk.PDFException; import com.foxit.sdk.common.Bitmap; import com.foxit.sdk.common.Image; import com.foxit.sdk.common.Library; import com.foxit.sdk.common.Renderer; import com.foxit.sdk.common.fxcrt.Matrix2D; import com.foxit.sdk.pdf.PDFDoc; import com.foxit.sdk.pdf.PDFPage;加载和初始化福昕 PDF SDK 库。参考 初始化SDK库。
加载一个 PDF 文档,解析该文档的首页。这里假设您已经在
test文件夹下放入了一个Sample.pdf文件。java// load a "Sample.pdf" document. PDFDoc doc = new PDFDoc("Sample.pdf"); error\_code = doc.load(null); if (error\_code != *e\_ErrSuccess*) { return; } // Get the first page of the document. PDFPage page = doc.getPage(0); // Parse page. page.startParse(*e\_ParsePageNormal*, null, false);将页面渲染成 bitmap,并将其另存为 JPG 图片。
javaint width = (int) page.getWidth(); int height = (int) page.getHeight(); Matrix2D matrix = page.getDisplayMatrix(0, 0, width, height, page.getRotation()); // Prepare a bitmap for rendering. Bitmap bitmap = new Bitmap(width, height, *e\_DIBArgb*, null, 0); bitmap.fillRect(0xFFFFFFFF, null); // Render page Renderer render = new Renderer(bitmap, false); render.startRender(page, matrix, null); // Add the bitmap to image and save the image. Image image = new Image(); image.addFrame(bitmap); image.saveAs("testpage.jpg");编译和运行工程。在 package explorer 中右击 test 工程,选择
Run as > Java Application运行工程。然后在test文件夹下将会生成testpage.jpg(如 "Figure 2-5" 所示) 。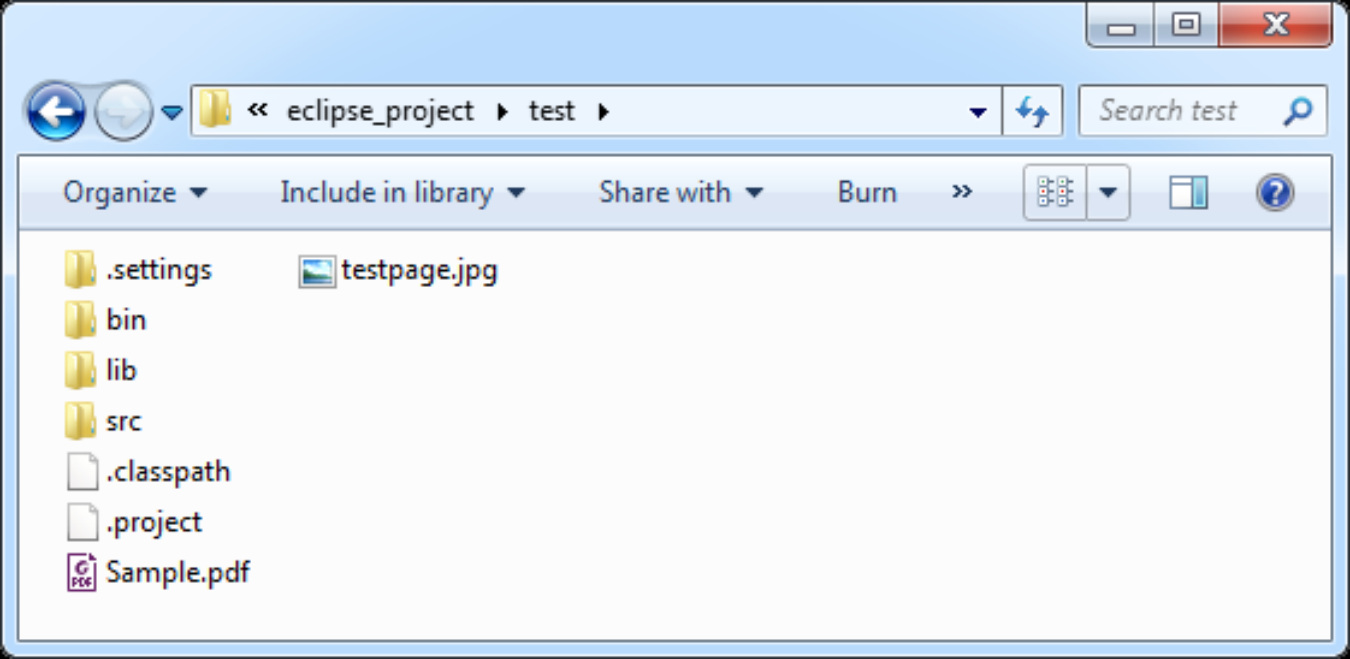
Figure 2-5
test.java的完整内容如下:javapackage test; import com.foxit.sdk.PDFException; import com.foxit.sdk.common.Bitmap; import com.foxit.sdk.common.Image; import com.foxit.sdk.common.Library; import com.foxit.sdk.common.Renderer; import com.foxit.sdk.common.fxcrt.Matrix2D; import com.foxit.sdk.pdf.PDFDoc; import com.foxit.sdk.pdf.PDFPage; import static com.foxit.sdk.common.Bitmap.*e\_DIBArgb*; import static com.foxit.sdk.common.Constants.*e\_ErrSuccess*; import static com.foxit.sdk.pdf.PDFPage.*e\_ParsePageNormal*; public class test { // Load the library. static { if(System.*getProperty*("sun.arch.data.model").equals("64")) { System.*loadLibrary*("fsdk\_java\_win64"); } else { System.*loadLibrary*("fsdk\_java\_win32"); } } public static void main(String[] args) throws PDFException { // The value of "sn" can be got from "gsdk\_sn.txt" (the string after "SN="). // The value of "key" can be got from "gsdk\_key.txt" (the string after "Sign="). String sn = ""; String key = ""; int error\_code = Library.*initialize*(sn, key); if (error\_code != *e\_ErrSuccess*) { return; } // load a "Sample.pdf" document. PDFDoc doc = new PDFDoc("Sample.pdf"); error\_code = doc.load(null); if (error\_code != *e\_ErrSuccess*) { return; } // Get the first page of the document. PDFPage page = doc.getPage(0); // Parse page. page.startParse(*e\_ParsePageNormal*, null, false); int width = (int) page.getWidth(); int height = (int) page.getHeight(); Matrix2D matrix = page.getDisplayMatrix(0, 0, width, height, page.getRotation()); // Prepare a bitmap for rendering. Bitmap bitmap = new Bitmap(width, height, *e\_DIBArgb*, null, 0); bitmap.fillRect(0xFFFFFFFF, null); // Render page. Renderer render = new Renderer(bitmap, false); render.startRender(page, matrix, null); // Add the bitmap to image and save the image. Image image = new Image(); image.addFrame(bitmap); image.saveAs("testpage.jpg"); } }
命令行
如果您只想通过指令快速运行 JAVA 项目,那么您可以创建一个 Java 文件,然后使用命令行来编辑和运行该 Java 文件。例如,使用上述 Eclipse IDE 中创建的 "test.java" 文件,然后按照以下步骤操作:
创建一个名为
est\_cm的文件夹。将test.java拷贝到该文件夹下。(请注意:您需要删除test.java中的第一行 "package test;") 。将 SDK 包中的
lib文件夹拷贝到test.java同目录下 (test_cm)。在
test\_cm文件夹下添加一个名为 "Sample.pdf" 的 PDF 文档。打开命令行终端,导航到
test\_cm文件夹,使用以下的命令编译和运行该 Java 文件。java//Windows 编译指令 javac -cp ./lib/fsdk.jar;. *.java //Linux 和 Mac 编译指令 javac -cp ./lib/fsdk.jar:. *.java //Windows 运行指令 java -Djava.library.path=./lib -classpath ./lib/fsdk.jar;. test //Linux 和 Mac 运行指令 java -Djava.library.path=./lib -classpath ./lib/fsdk.jar:. test